Full documentary of the production process of the exhibition hall drone model
Full documentary of the production process of the exhibition hall drone model
This case aims to demonstrate the complete production process of a highly restored (target restoration degree of over 90%) drone exhibition hall model. We are committed to accurately reproducing the technological beauty, structural details, and texture charm of real machines in every inch.
1、 Material selection and main structure formation
The cornerstone of a model lies in materials and structure. Based on the lightweight and high-strength characteristics of real machines, we have made targeted material selection:
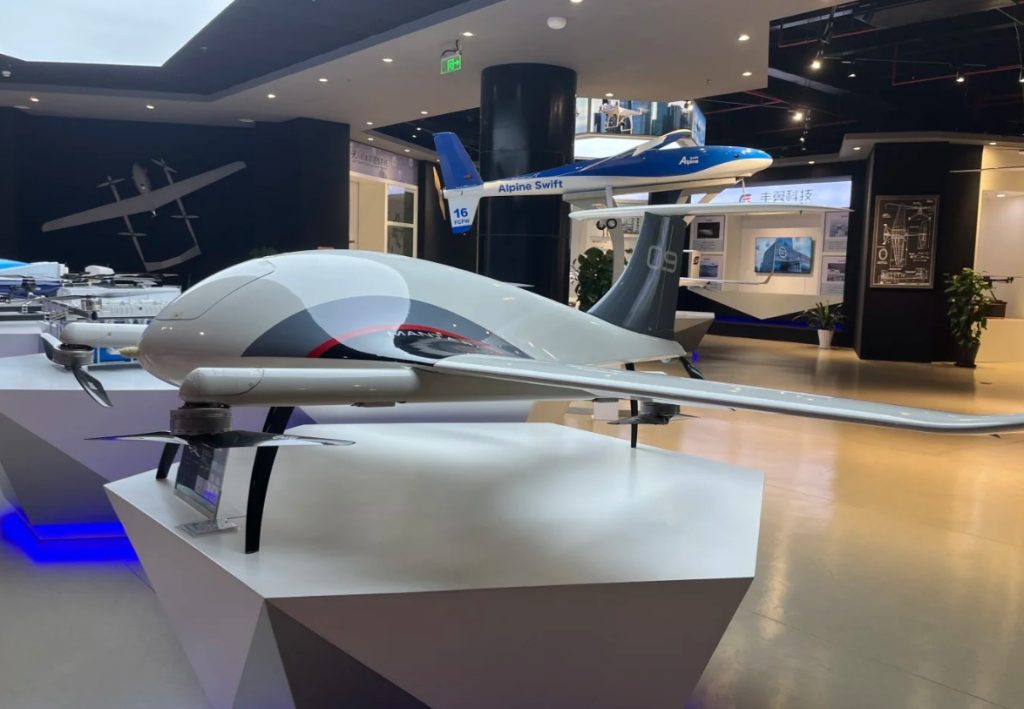
Main frame: The body and arm body are both made of high-precision injection molded ABS engineering plastic. This material has high strength and stable dimensions, and can perfectly shape the streamlined body contour and complex curved structure of unmanned aerial vehicles. The connection between the arm and the body is achieved through internal precision buckle design, ensuring accurate angles and overall stability.
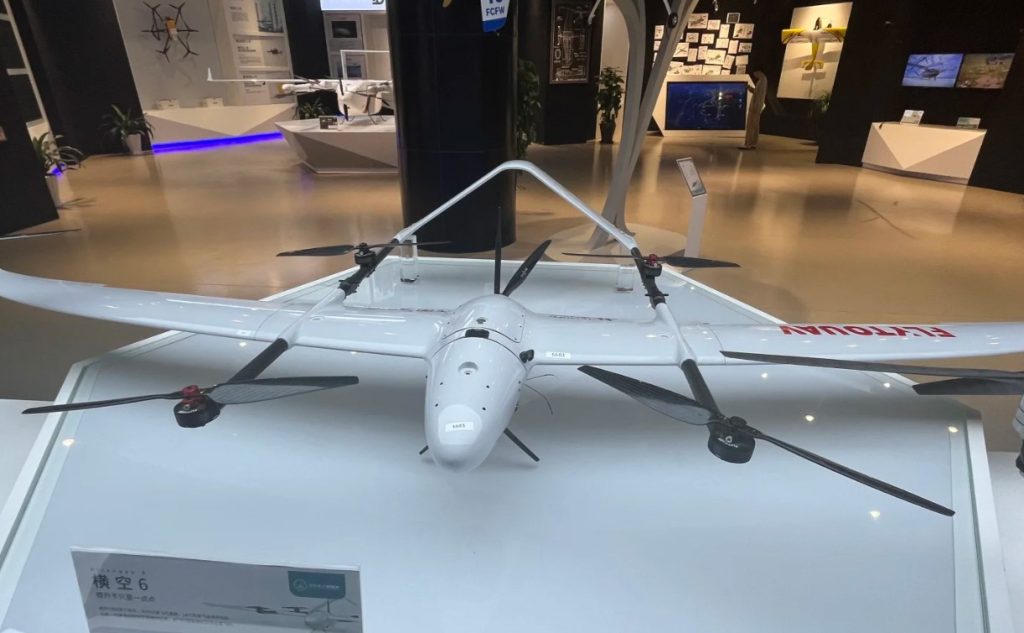
Featured component: The black sensor pod below the drone in the picture is made of independently processed ABS parts to reflect its functional module characteristics.
Other components: The transparent probe lampshade is made of high transmittance PC material; The propeller is made of high-strength nylon material, balancing toughness and detail.
2、 Precision manufacturing and manual assembly
The production process combines modern precision manufacturing with traditional craftsmanship.
Mold development and initial forming of parts: Based on three-dimensional data, precision machining is used to make molds. The injection molding process is a test that requires precise control of temperature, pressure, and cooling time to ensure that each part has a clear contour and no shrinkage deformation after demolding. For the arm components, the mold surface has undergone special fine texture treatment, which gives the injection molded arm a matte texture similar to that of industrial composite materials, rather than a smooth surface, laying a solid foundation for subsequent coloring.
Manual trimming and pretreatment: After all injection molded parts are completed, the first step is for experienced craftsmen to finely trim the “water nozzle” and “mold line”. Slowly polish with various specifications of sandpaper and files to ensure a smooth and even surface of the parts, with natural transitions, while retaining the basic texture brought by the mold. This is a prerequisite for ensuring perfect painting effect in the later stage.
Modular assembly: Assembly follows the principle of “from inside out, from module to whole”. First, complete the internal structure simulation and enclosure of the sensor pod, and then precisely dock the boom with the fuselage. At critical connection points, positioning fixtures will be used to assist in ensuring that the angles of all robotic arms are completely consistent with the actual machine, and the overall posture is stable and accurate.
3、 Multi layer coating and detail art
Painting is the most critical stage for the model to acquire its soul and achieve high fidelity.
Deep cleaning and primer spraying: The assembled model “white mold” will be thoroughly cleaned to remove all grease and dust. Subsequently, it will be sent to a dust-free paint spraying room for overall primer spraying. This layer of primer can greatly enhance the adhesion of the topcoat.
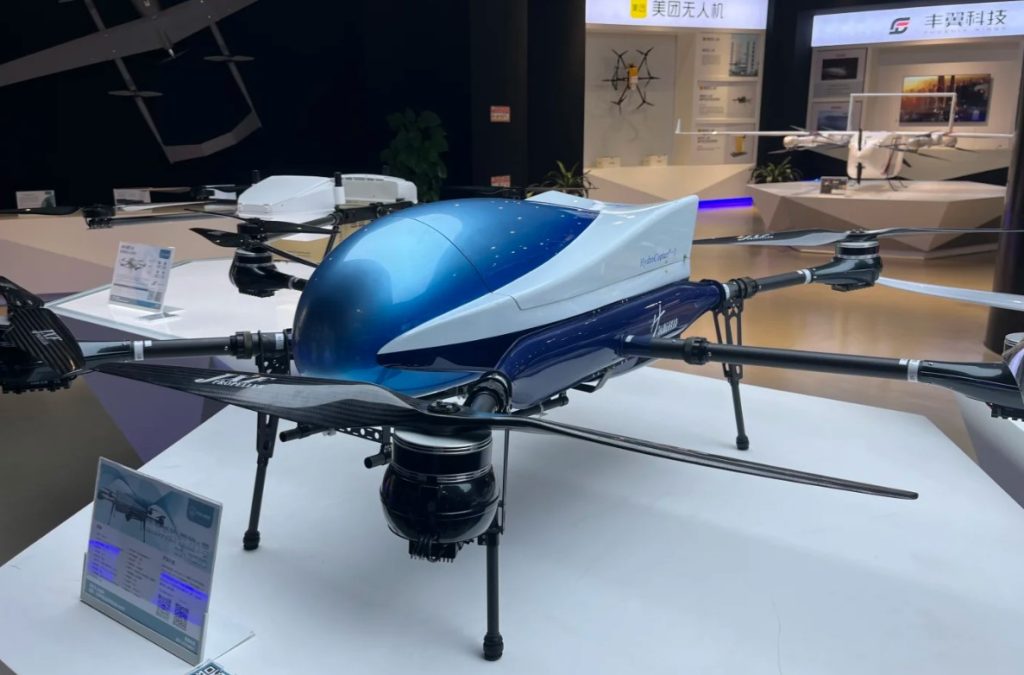
Main color spraying and masking process: We strictly follow the color scheme of the real machine for color matching. When spraying, first spray a pure white base as a whole. After the white paint layer is completely cured, use ultra-thin masking tape to accurately cover the white area that needs to be retained according to the design draft. This step is the core of ensuring a clear and sharp boundary between the blue and white colors. Afterwards, apply a signature blue spray on the exposed area.
Texture processing of the robotic arm: This is the key to reflecting realism. We have used a special matte deep space gray paint for the arm part. In order to restore the texture of the robotic arm in the picture, we did not simply spray paint. Instead, we controlled the thickness and spraying technique of the paint surface to ensure that the paint layer adhered perfectly to the fine texture of the robotic arm mold, ultimately forming a deep, delicate, and slightly layered matte black effect that perfectly simulates the visual and tactile characteristics of high-strength composite materials, rather than the shiny carbon fiber texture.
Detail identification reproduction: We use high-precision water sticker transfer printing or pad printing technology for the text, logo, and various warning signs on the body. With the assistance of a magnifying glass, the craftsman accurately positions and attaches the pattern, making it perfectly fit the curved surface of the body, smooth and flat, without any unevenness.
Protective varnish treatment: After all coatings are completed, the entire model will be sprayed with a customized matte transparent protective paint. This “coat” not only protects the paint surface, but also further unifies and enhances the matte texture of the body, making it closer to the surface treatment process of real equipment.