Medical equipment model production
Production Plan for Medical Monitoring Equipment Display Model
1、 Design Analysis and Overall Concept
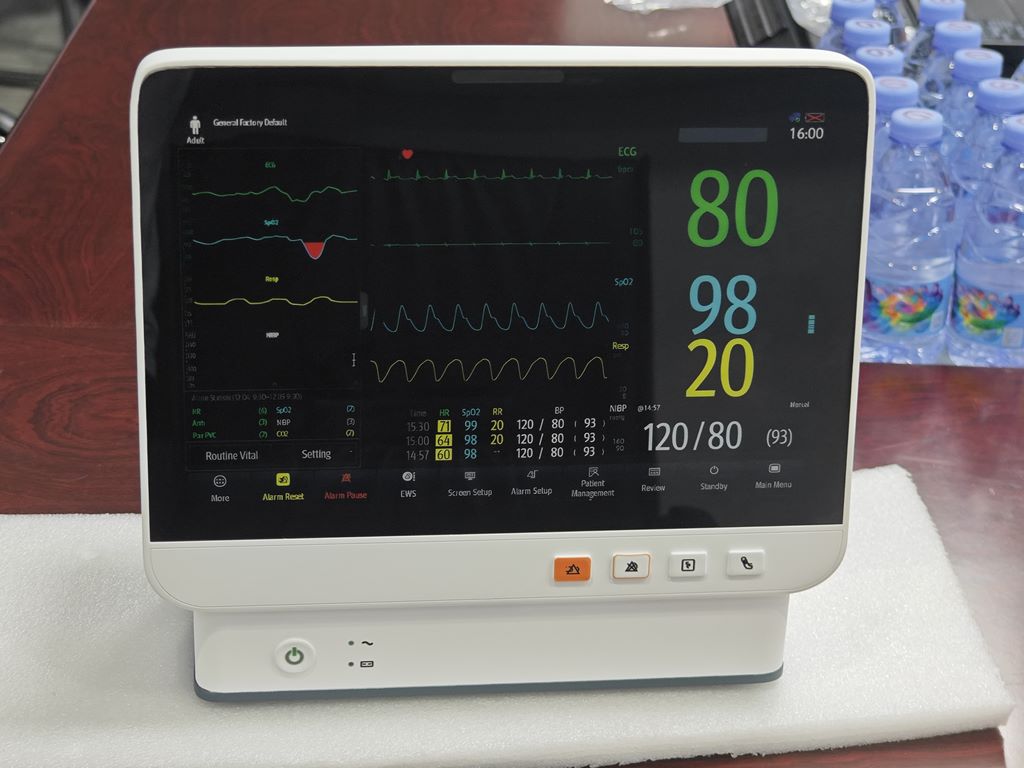
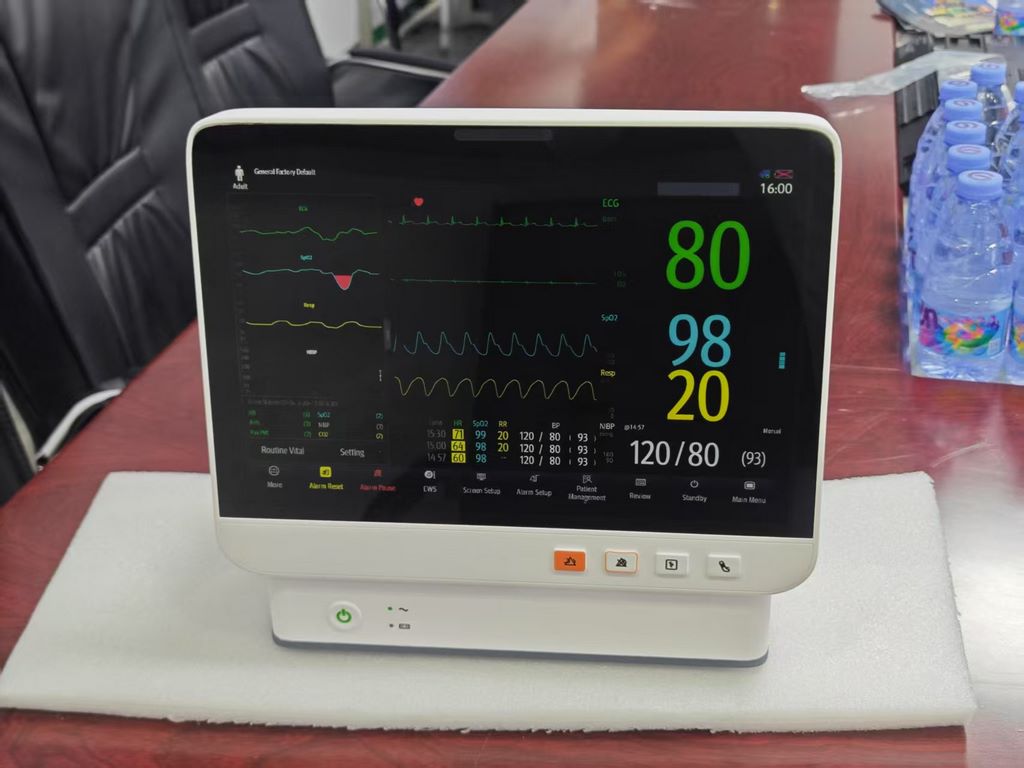
This plan aims to create a high fidelity medical monitoring device model based on the device in the uploaded image. The model will focus on showcasing the professional appearance, screen display interface, and operation panel of the device, pursuing a visual fidelity of 90%. The core of production lies in the precise replication of the industrial design language of the equipment, the realistic reproduction of screen information, and the professional sense of the overall material, avoiding any toy or rough feeling.
2、 Material selection and matching
Main structure: The equipment casing mainly uses high-density ABS board or matte acrylic board. ABS board is easy to cut and polish, and can form a sharp and solid shell structure. Acrylic sheets can provide a smoother initial surface.
Display screen: This is the visual focus of the model. The solution of using high-definition transparent inkjet printing film pasted on transparent acrylic board will be adopted to accurately reproduce the images, waveforms, and data displayed on the screen.
Buttons and controls: The main buttons can be made using microplastic button parts or circular ABS rod slices. The “knob” can be simulated by making a small cylindrical body and carving anti slip patterns.
Adhesive: Model specific adhesive (such as Taguchi seam adhesive) is used for seamless splicing of ABS components; Quick drying CA adhesive (commonly known as 502) is used for fixing small parts; UHU white adhesive is used for partial non structural bonding.
Coating materials: Prepare water-based matte white primer, various colors of model topcoat (for buttons, logos), stain solution (for enhancing details and shadows), and final matte protective paint.
3、 Core production process flow
Body shell shaping
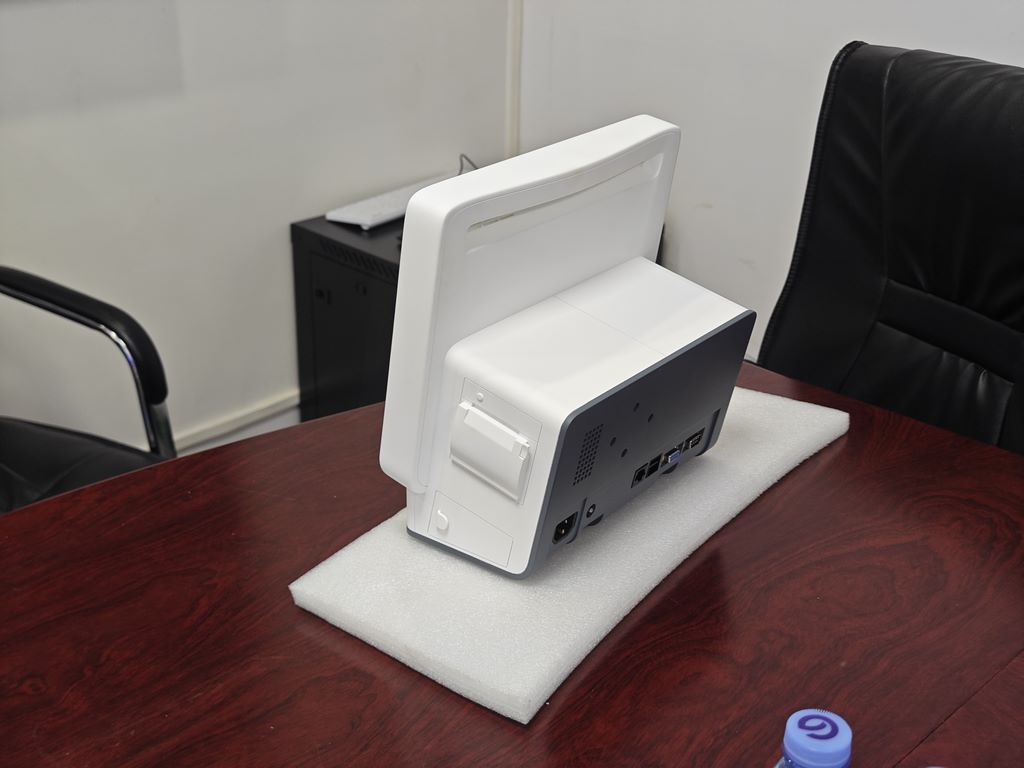
Construct equipment volume using the “layered stacking” method. Cut the ABS board into front panel, rear panel, top panel, side panel, and bottom panel according to the equipment size. Use model glue for bonding, with a focus on ensuring that all seams are tight and angles are perpendicular. The handle part on the top of the equipment can be formed by hot bending ABS rods or directly embedded with suitable ready-made parts after modification. All seams need to be preliminarily polished after the glue dries to give the shell a sense of unity.
Screen and display interface production
This is the key to the success or failure of the model.
Screen base: Cut a moderately thick transparent acrylic sheet with dimensions exactly the same as the device display area, and polish the edges smooth.
Screen printing: Based on the displayed content in the image (heart rate 80, blood oxygen 98, waveform, etc.), use image software to carefully draw a high-resolution one-to-one image with a transparent background. Use a high-definition inkjet printer to reverse print the pattern onto a transparent film.
Bonding: Carefully stick the printed film onto the back (i.e. smooth surface) of the acrylic board, ensuring no bubbles or dust. This operation can make the screen image located under the “glass”, which is highly realistic. Finally, embed the pre made screen unit into the window reserved on the front panel of the device.
Detail depiction of operation panel
Button installation: Precisely drill holes on the front panel for installing buttons. Insert the pre made button components (which can be colored) from the inside of the panel and fix them with a small amount of glue if necessary.
Identification and Text: The “Manual”, “Standby”, “BP” and other markings on the device can be made using water sticker technology. First, print it on a blank water sticker, then cut it and stick it in the corresponding position. Use water to apply a softening agent to make it perfectly adhere to the surface, as if it were printed.
4、 Post processing and texture shaping
Surface finishing and primer treatment
After completing the assembly of all components, use the model to fill in any small gaps or defects that may exist. After it is completely dry, use sandpaper of different grit sizes (from 600 grit to 1000 grit or above) to finely polish it multiple times until the entire surface of the model reaches an extremely smooth and flat state. Then, spray the overall gray or white water-based grid primer. This layer of primer can unify the base color and help inspect any surface defects for final correction.
Color separation spraying and detail drawing
Main color spraying: The overall equipment body is sprayed with matte white topcoat, using multiple thin coats until the color is uniform and the coverage is perfect. Matte texture can effectively mimic the surface treatment of real medical equipment.
Detail coloring: Apply color separation coating to the buttons. Use a fine tipped pen to dip in the corresponding color of paint (such as gray, blue, etc.) for precise hand painting. Dark areas such as screen borders and ventilation vents are also covered with spray or pen paint.
Staining and aging: Apply diluted dark gray stain solution evenly to the entire device, allowing it to naturally flow into button gaps, screen borders, heat dissipation grilles, and other recessed areas. After waiting for a moment, dip a cotton swab in a small amount of solvent and gently wipe off any excess stain solution on the surface, leaving the shadow at the concave line. This step can greatly enhance the three-dimensional and realistic feel of the model, as if there are tiny traces of use on the device.
Final integration and protection
After all paint surfaces are completely dry, perform the final inspection. The model can be placed on a simple booth (such as imitating the desktop environment in the picture). Finally, spray 1-2 layers of matte protective paint evenly on the entire surface. This not only protects the delicate paint surface and details from scratches, but also unifies the gloss, completely eliminates the plastic feel, and presents the model with a professional, clean, and realistic final effect.