Model making of coal industry equipment
Production Plan for Coal Industry Equipment Display Model
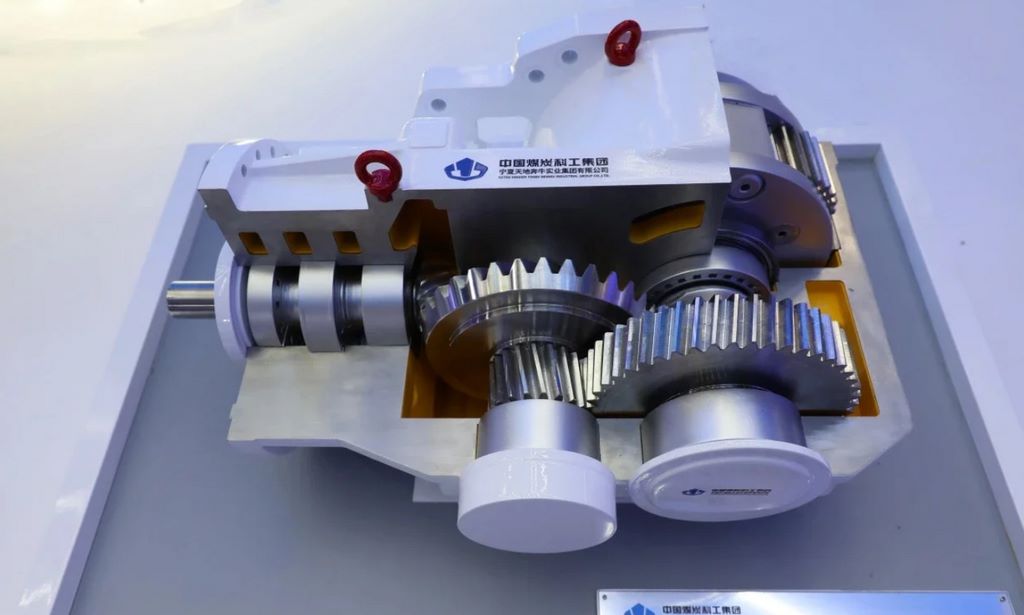
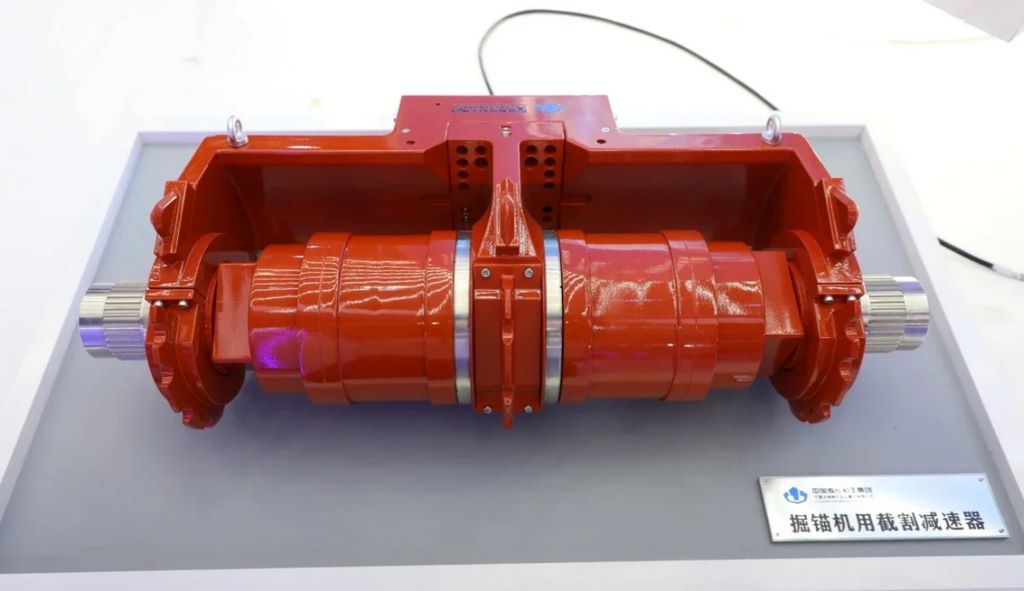
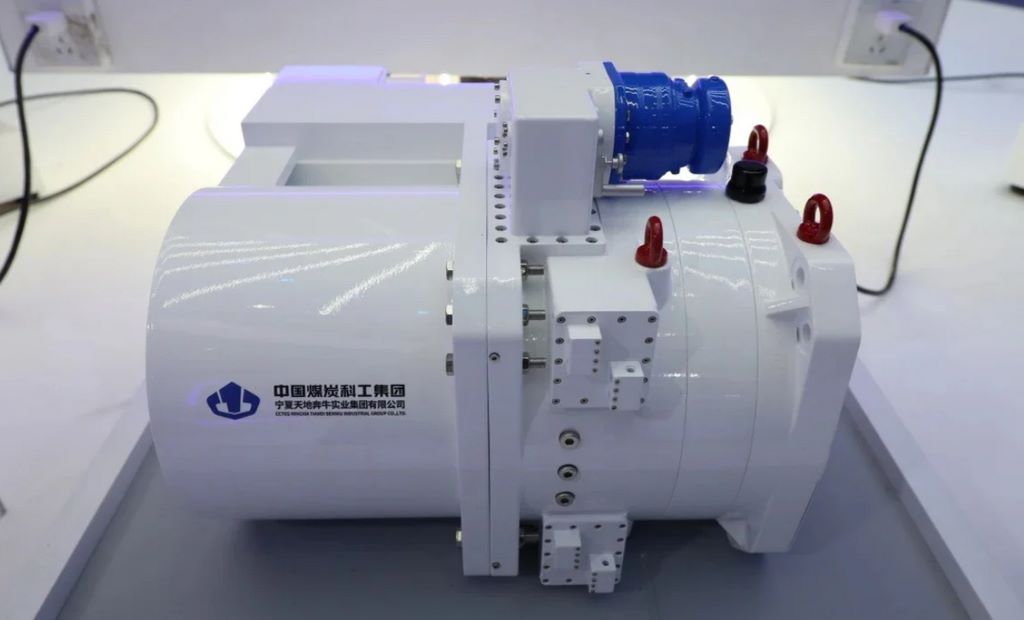
Core objective: Accurately reproduce the large-scale coal industry equipment model shown in the picture, focusing on its pure white industrial paint surface, precise enterprise logo printing, and blue and red embellished mechanical details, pursuing a authenticity of over 90%.
1、 Material selection
Main material: The main structure of the equipment is made of high-density ABS board. This material is easy to cut and bond, and the surface is extremely smooth after polishing, perfectly reproducing the sheet metal texture of the equipment casing.
Detail parts: blue interface device, red fixing parts, etc., can be processed using ABS rods/tubes or achieved with high precision through 3D printing (photosensitive resin).
Coating material:
Primer: Grey water-based grid fill, used to inspect defects and enhance the adhesion of the topcoat.
Topcoat: High grade matte white paint (main color), matte blue paint, and matte red paint (detail color).
Identification solution: Adopting high-definition water sticker technology, which is the key to restoring complex text and logos such as “China Coal Science and Industry Group”.
Protective paint: Matte protective paint, uniform gloss, eliminates plastic feeling, and protects the paint surface.
2、 Core production process flow
The production process follows the logic of “from the inside out, from the whole to the parts” and is divided into three major stages.
Phase 1: Shaping the Main Structure – Creating the “Bones” and “Blocks” of the Equipment
Internal skeleton construction: First, use thick ABS board to build a stable internal framework. This not only supports the model, but also determines the basic form and proportion of the equipment. Ensure that the framework is square and vertical.
Skin production: Paste a thin ABS board (such as 1mm thickness) on the outside of the skeleton to form a smooth outer surface of the equipment. This is the most challenging step in craftsmanship:
Precise cutting: All skin panels must be cut accurately according to the drawings to ensure tight seams.
Seamless processing: All joints are carefully filled with model soil, and after they are completely dry, they are sanded multiple times with water sandpaper (from size 400 to 1000) until no unevenness is felt even when touched by hand. The goal is to make the entire shell look like an integrated industrial product.
Phase 2: Production and installation of detailed components – endowing equipment with “life features”
Split production: The blue interface device, red handle/fixing parts, etc. are all produced as independent components. For example, the blue cylinder can be cut and polished with an ABS rod, and the red knob can be processed with a circular rod.
Precise installation: Accurately mark the installation position of each detail component on the main body shell, drill holes or slots. Then bond the finished detailed components in place one by one. This step requires the use of a square ruler to ensure that all components are installed correctly.
Phase Three: Identity Migration – Injecting “Soul” into Devices
The text and logo on the device are the key to the authenticity of the model, using the water sticker process:
Water sticker production: Print high-definition scanned or vector redrawn labels (such as “China Coal Science and Industry Group”, “CTV”, “2015”, etc.) on blank water stickers.
Paste process:
Positioning: Soak the cut water sticker in water for a moment to separate it from the base paper.
Transfer: Use tweezers to assist in sliding the pattern to the predetermined position on the surface of the model.
Fitting: Gently roll with a cotton swab to drive away moisture and bubbles, so that the water sticker fits perfectly on the (possibly uneven) surface of the model.
Softening treatment: Use water-based softener to fully adhere the film to the unevenness of the panel, as if printed on it.
3、 Post processing and texture shaping
Primer spraying and final inspection: Apply gray primer as a whole. This layer of primer can expose all small scratches or unevenness like a “magic mirror”, making it easy for final polishing and repair.
Color separation spraying:
Main color (white): overall sprayed matte white topcoat. Using the principle of “small amount multiple times”, spray multiple layers thinly until the color is uniform and saturated. Matte texture can best restore the paint effect of industrial equipment.
Covering color separation: Use masking tape to finely cover the white area, and spray paint the blue interface device and red parts separately.
Staining and texture enhancement (key steps):
Apply diluted dark gray stain solution to the entire equipment, and the liquid will naturally flow into the panel joints, bolts, and text depressions.
When it is half dry, gently wipe off excess stain solution on the flat surface with a soft cloth or cotton swab.
This operation can greatly deepen the shadows, highlight the three-dimensional sense and structural hierarchy of the device, and make the model instantly “realistic”.
Final protection:
After all paint surfaces are completely dry, spray 1-2 layers of matte protective paint as a whole. This step can protect delicate water stickers and paint surfaces, and unify their luster, ultimately achieving a professional effect that is calm, realistic, and free of plastic.